
If you’re one of those brave souls willing to go out on a limb we’ll give you our best tips for DIY Wedding Flowers today. Today’s post may also be helpful for you if you’re just branching out into the world of wedding floristry. Today we’re going to take a closer look at how to plan and DIY wedding flowers. We’ll include a timeline for the week of the wedding and a few tips we’ve learned along the way. There’s a Pennsylvania Dutch saying about a good plan being half the work. When it comes to wedding flowers, this is most certainly true.
(Read the last post on DIY wedding flowers vs. Hiring a Florist here.)
DIY WEDDING FLOWERS TIMELINE
At least two months before the wedding
Choose a flower style
You’ve probably been curating inspiration pictures for your wedding on Pinterest. Now is the time to look closely at your favorite flower pictures and figure out what it is that you like. Are you drawn to fresh, whimsical, garden bouquets or do moody, wispy bohemian arrangements catch your eye? What flowers keep popping up in your pictures?
Think about the season and what flowers will be readily available since seasonal blooms often cost less and hold up better than out of season blooms. One easy mistake to make in the DIY wedding flower process is to think any flower will be available at any time of the year. We’re much closer to that than we used to be, but it’s still best to choose seasonal flowers. They’ll be freshest and will hold up better than a flower that’s not in season but is flown in from afar.
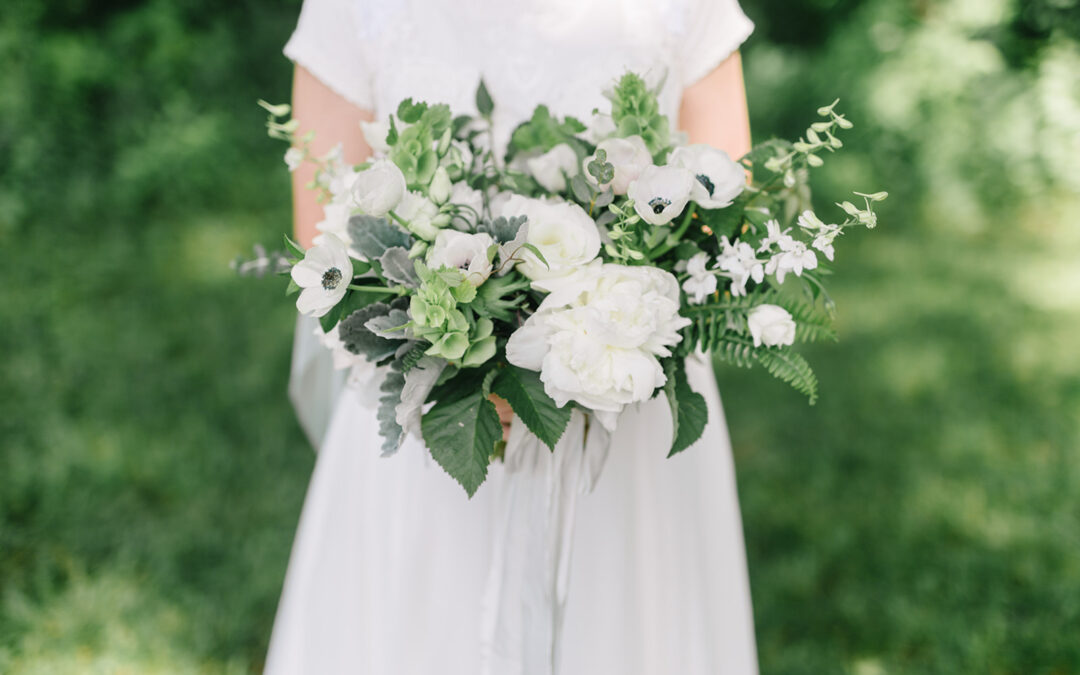
Plan your bouquets
Once you’ve settled on the kind of bouquets you want, you might want to buy some flowers and practice a bit. There are lots of basic tutorials on YouTube that cover the mechanics of bouquet making. While you’re practicing, count how many stems you’ll need for a bouquet.
Research your options and decide how and where to source your flowers. Are you buying all your flowers and greens? Will you forage? If you have a vendor’s license, you’ll be able to source from wholesale suppliers. If not, find a local flower farm (you knew we were going to toss that in there, right?) or a florist and ask them about buying in bulk. There are places to buy bulk flowers online, as well.
Once you know how many flowers you’ll need for each bouquet and arrangement and how you’re sourcing your flowers, you’ll want to organize all of that information into a spreadsheet. Trust me. The numbers have a way of escaping if they’re not corralled somehow. And always, always plan to order extras. Flowers are highly perishable goods. Plan on a few broken stems and sad characters in every bunch.
Make a list of arrangements and a flower recipe for each. This will come in handy when you’re there, surrounded by a sea of flowers, trying to remember why you ordered ten bunches of eucalyptus. We’re notorious for not sticking with our recipes, but we still like to have them as a starting point.
Order your supplies
Make a list of all the supplies and tools you’ll need and get those ordered as soon as you can. Trust me on this. We’ve wasted a few dollars paying for supplies to get here extra quick the week of a wedding. Essential to this list is a sharp pair of garden snips. We keep two kinds on hand for bouquet making, one for lighter cutting and a heavy duty pair for woody branches. You’ll want to have florist tape and Oasis tape on hand, ribbon for bouquets, corsage pins for boutonnieres and corsages, and Oasis foam for installations. We’ve found that craft caddies are a great way to keep our supplies organized.
Take a deep breath (or two)
Take a moment and give yourself permission to be flexible. Seriously, you’ll save yourself a lot of pain and sorrow if you go into this project with the view that any disaster, major or minor, can be a creative challenge. There will probably be at least a minor scuffle somewhere along the way.
When we first dipped our toes into this wild and wonderful industry, LaRonda came up with the phrase ‘Roll with it’ and it became our slogan. If you can find a way around the mishaps, see the disasters as opportunities, and find delight in what goes right, you’ll probably enjoy this process so much more. Also, those same disasters will make for humorous stories later. We have a few that we trot out and chortle over from time to time.
At Least One Month Before the Wedding
Order your flowers
That’s it. If you’ve done all the math and spreadsheets leading up to this point, all that’s left to do now is to order your flowers.
Wedding Week Timeline
This timeline is based on a Saturday wedding. Adjust as necessary for a wedding on a different day of the week.
Monday
Assemble all your supplies, buckets, vases, and tools. Check to make sure the buckets are spotless, and your pruners are sharp and clean. You won’t have any time to be fiddling with sub par or dirty equipment.
Tuesday
Print your list of arrangements to make and your recipes for the different arrangements. Familiarize yourself with them again and make sure you have a cool room or basement to store all your flowers.
Wednesday
Condition all your flowers. Do some research beforehand on how to condition each type of flower/greens optimally. Hint: not all flowers are equal. If we’re ordering flowers in, we like to have them arrive on Wednesday. It’s nice to have an extra day of cushion if we have to come up with a plan B.
Thursday
If you’re going to forage, this is the day. Early morning is the best time for cutting greens and flowers, so grab a cup of coffee and get a head start on the sun.
Friday
Let the petals fly! Make your bridal bouquets, boutonnieres, and corsages. Transport them to the venue or make sure the person you’ve appointed knows where they should go and when.
Saturday
If you have an outdoor arch installation, those should be done the day of the wedding during the hot summer months. And then you’re done! Go grab a coffee to celebrate. Wait, unless you’re the bride. In which case we all know what comes next. You do. Duuun, dun, dun duuuuun….
Final DIY Wedding Flower Fettling Tips
So, let’s wrap it up with a few things we’ve learned along the way.
Tip 1
Flowers take a lot of time. I’ll say it again: flowers take a LOT of time. We’ve had a few near misses. Our first major arch installation was finished up after the first guests had arrived for the wedding and about an hour before the ceremony. Needless to say our next one was done a good bit ahead of time. Plan plenty of time to do all your arrangements. If you feel like you’ll be crowded for time, find something that can be delegated and delegate it. Your best work will probably happen when you’re not feeling stressed and rushed.
Tip 2
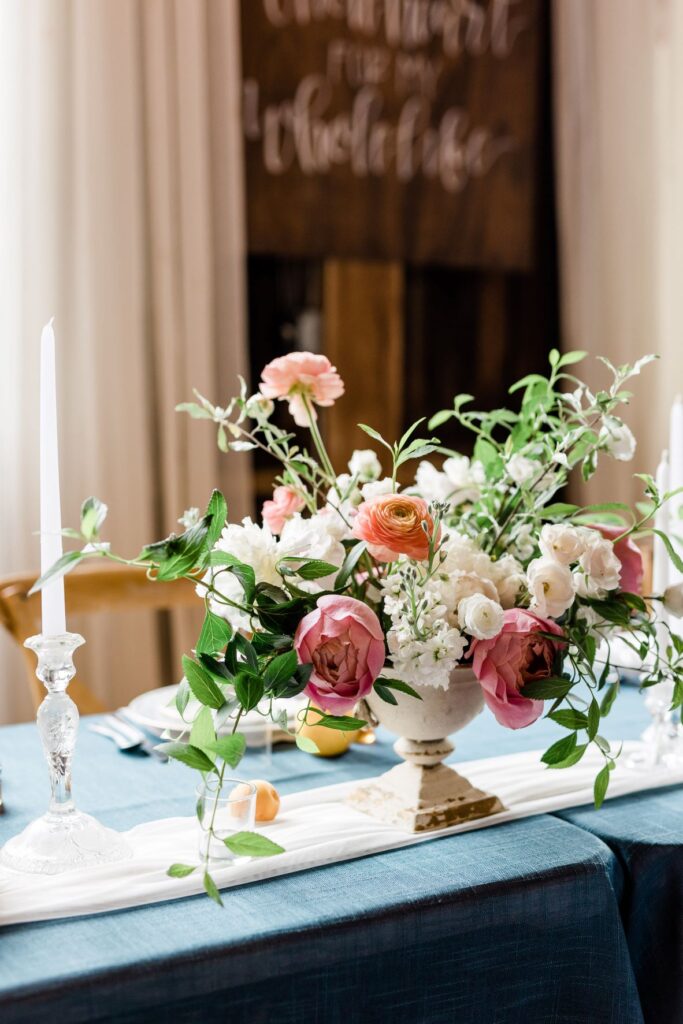
Think about proportion when you’re planning your bouquets and arrangements. A wheelbarrow sized bouquet will nearly obscure a petite bride. If you’re making a large arrangement for your ceremony space, make sure it is large enough to make a statement. Nothing so sad as a statement piece that nobody even notices.
Tip 3
Keep your flowers in a cool place, both before you’ve arranged them into bouquets and after. Most flowers do best in a cool room or basement and don’t need refrigeration, but things like garden roses do benefit from being refrigerated a bit while they re-hydrate. Just be sure not to store them with any fruits or vegetables since those give off a gas that can shorten the life of your flowers.
Tip 4
And don’t forget to get vases for the bridal bouquets! Quart jars usually do just fine, and Walmart carries a fine stock of those. I like to tell the bride she can keep the jars. It will help her get started with canning and other virtues. Heh heh.
Tip 5
Clean up. (sob) Clean up is the ugly underbelly of floral design, the thing few of us like to talk about. We don’t want you to know about the buckets with brackish water from a wedding two weeks ago, or the way the floor looks as we make bouquets. Let me tell you, stems and petals fly! After a while those messes start to cramp our design style. If I sweep up after every bouquet, I feel much more relaxed as I work. Brooms and dust pans are an important part of floral design.
Whew, that was a lot of information. Believe it or not, there is a lot more where that came from! What other questions do you have? It’s easy to forget what confounded us as we were getting started.
We sometimes talk about making a reasonably priced course for the DIY queens and florists that are just getting started. You know. Someday when life slows down. Would you be interested?
-Rosita
(with a few sentences by LaRonda)
You mavens are amazing. I love reading your perspective, friends!!!
Yes, what a great idea!
oh dear, am i zig or zoop? been too long
😊 I think they’re faily interchangeable. 😉 Thanks for your kind words!