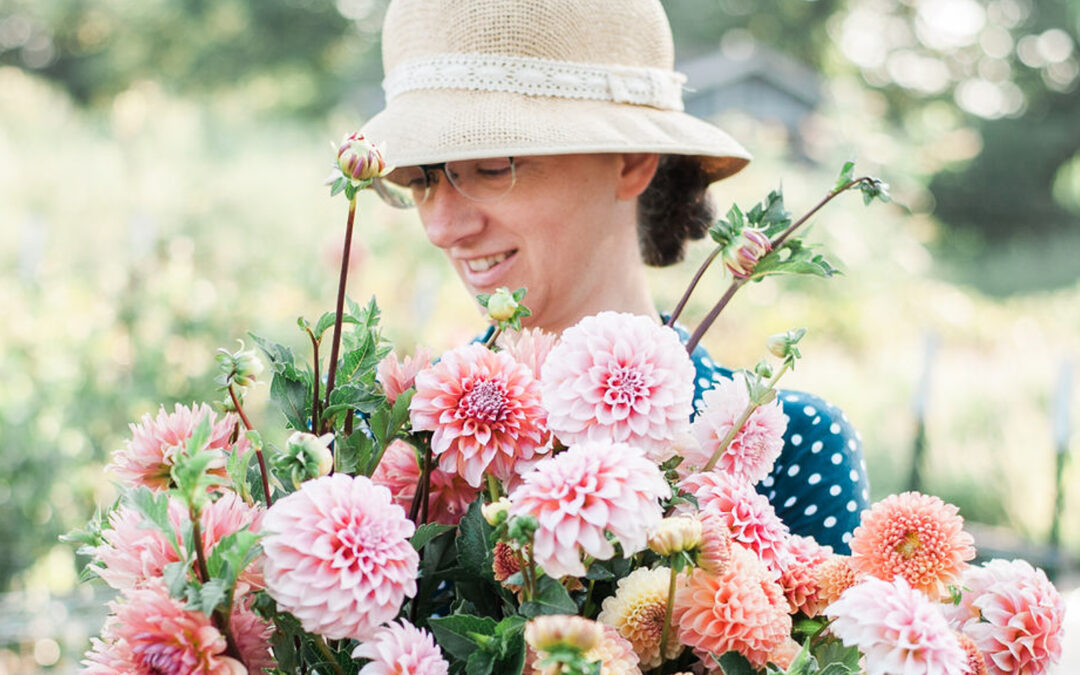
One of the topics I searched for the most when we were started growing flowers, was how to plan a cut flower garden. I wanted non-stop blooms all summer long and, while it’s not rocket science, it can be confusing to know just when to plant each flower. Everything felt like a jumble of last frost dates, random seed packet information, and gardening forums filled with conflicting wisdom.
I planted things too early and they died a pale and leggy death. Then I planted things too late and they took forever to take off in the garden. Or I put the wrong kind of seeds on a heating mat to germinate and fried them all. In one of my first gardens, a late frost came through and froze out half of my plants and all of the basil. There was a lot of trial and error and a lot of late night Google searches.
I eventually figured out a bit of a system that works for us. I start a lot of our first crops inside under lights and then some of the second rounds of seed go directly into the garden. We’re firm believers in reverse engineering things, and it’s a method that works great for gardens. That’s what I’d like to talk about today, how I make a planting schedule by working backwards.
Note: A few of the links on this post are affiliate links. If you follow the link and make a purchase, we may receive a small commission at no extra cost to you. See our full disclosure here.
If you’re interested in learning more from us, check out our online gardening class where we teach beginning gardeners how to plan and how to grow a successful cut flower garden.

Make a Map
Sketching out a scale drawing of our gardens has helped so much in knowing how many seeds or plants I should plan for. I use an Excel spreadsheet for this, but graph paper, a pencil, and a ruler work just as well. After I sketch all the beds in the garden, I mark where I plan to plant each flower and make a note of how many seedlings I’ll need for each one. I always round up for this because I’d rather have too many seedlings than not enough to fill the space.
We try to rotate where we plant things from year to year to discourage pests and disease, so this map also comes in handy for that. I use this map as a loose guide when we’re planting things out in the garden because things get tweaked quite regularly. I usually try to update my map in the middle of the summer once everything has been planted. That way my records reflect where everything actually landed in the garden.
Plan Your List
The next job is the most fun: dreaming of all the flowers we want to grow. LaRonda and I start with a couple of brainstorming sessions where we go through last year’s list of flowers. What we didn’t love gets the ax. You can read about the flowers we aren’t growing this year over here, or watch the YouTube video here. We also add in new flowers that we’d like to grow and try not to get too crazy. One sobering thought of our May planting frenzy usually shakes some sense into our flower greedy brains.
Another important step to plan our cut flower garden is to pick a couple of color palettes, add in plenty of white, and stick with those colors. We’ve also learned that it’s good to plan a variety of sizes. We’ll try to plant a variety of large focal flowers like zinnias or dahlias. Spire flowers are another type we’ll plant like larkspur, foxglove, or delphinium. We also love lots of little interesting bits like agrostemma, bachelor’s buttons, or gomphrena. Above all, we’ve learned to stick with flowers that will do well in our climate.
I like to keep track of all my lists in a Microsoft Excel spreadsheet. It’s safe to say I live and breathe spreadsheets. They are the best for sorting lists into alphabetical order, inserting or deleting items, and generally keeping track of all the important data. I’ve created a PDF of two of my most used Excel sheets. Feel free to use them to set up your own spreadsheets or if that’s not really your thing, make copies and use a pencil.
Find Your ‘Safe to Plant’ Date
Once I’ve got my flower list made and all the seeds ordered, I figure out a schedule for when to plant each variety. Like I said before, not all flowers are created equal. If you start, say, your zinnias at the same time you start your rudbeckia, you’ll be in for an unpleasant surprise. The rudbeckia will be fine but your zinnias will probably be a hot mess, all leggy, root bound, and struggling to live. Ask us. We did that to the cosmos one year and we had six inch plants lounging horizontally in their trays, languishing for the warm days of summer. They died before we could plant them.
The most important date to figure out is your ‘safe to plant date’. All the rest hinges on this. Basically, it’s an educated guess on when it will be safe to start tucking all the little plant babies in the garden. I take two things into consideration when I’m determining this date. I look at the average last frost date for my zone and then where the full moon lands in May.
Last Frost Date
You can usually find your average last frost date by doing a Google search. You can also enter your zip code on the National Gardening Associations website. It’s a great idea to keep your own last frost date records because every garden has its own microclimate.
Full Moon in May
If you’re not in zone 6a like we are, find the full moon that’s close to, or right after, your average last frost date. For example, our last frost is somewhere around the end of April or the first of May, so I always check to see when we’ll have a full moon in May. The reason for this is that we often get a cold snap around a full moon. I know from past records that if there’s a full moon in the first half of the month, there’s a good chance we’ll get a late frost, too. In 2020, the full moon lands on May 7. I’m planning for a safe to plant date of May 4, but because the full moon is so close to that date, I’ll be checking the forecast religiously before I plant.
We’ve created a handy resource for corralling all this information you’ve gathered on the flowers you’ll grow. This includes a chart with handy snippets of how we sow and grow our favorite varieties in zone 5b/6a, plus a video showing you how we use the chart. Check it out here.

Make a Schedule for Planting
Once I know what my safe planting date is, I take the list of flowers I’m planning to start indoors and figure out how many weeks before my last frost date each one should be sown. Seed packets, online seeds stores (Johnny’s and Floret are a great help), and my own personal stash of nerdy plant growing books are all places I look for this information. Two books I’ve leaned on heavily are Seed Sowing and Saving and The Gardener’s A-Z Guide to Growing.
All the new information I collect every year gets plugged into a spreadsheet with my master list of seeding and growing instructions. This spreadsheet is worth the time and effort it takes to maintain, since it means I have a customized list for my growing zone.
After I know how early to plant each one, I find a calendar and count back the weeks for each variety. I assign a planting date to each flower, and that’s the date I need to plant them in trays inside. Then I fill my calendar and planner with reminders about planting times for each variety.
Pro tip: get yourself an app like Any.do where you can set timed reminders. It’s a life saver. I like to think I’m a fairly organized person, but when things get hectic in the spring, all bets are off. It’s nice to have a list and a reminder of what to plant with dates for everything so I stay on track.
Keep a To-Do List
This might be an obvious one. Our master list has garden jobs listed by month so we don’t miss key jobs that are time sensitive. There are so many moving parts when you plan a cut flower garden that it’s easy to miss jobs that aren’t directly related to sowing seeds. Jobs like getting your roses trimmed or dahlias staked at the right time.
Some of the jobs in January were sprouting the ranunculus and setting up the low tunnel where we’ll plant them. February jobs include clearing the bed for the lupines, checking our stock of frost blankets, and planting the ranunculus. In March we need to get some new dahlia beds ready. April has prune roses, pot up the dahlias, and transplant the lisianthus on the list. I save the list and revise it every year to fit our plans for that season.
WATCH ON YOUTUBE
This certainly isn’t the perfect way to plan a cut flower garden, but for now, this is what works for us. I’d love to hear any feedback you might have or if you have any foolproof planning tricks up your sleeve.
Happy planning.
Rosita


Yes yes! So much good information on here! To do lists made out the previous Fall are a life saver for me! Too much hyggelig in the Winter makes me forget by Spring! Near the end of Summer I walk around my landscape & dream of how I want it next Summer & I write it down. What did good, what didn’t do good, what to move, what to try somewhere else. It also somehow eases my frustrations I’m feeling by the end of Summer over things that struggled, took too much time, or were too short lived, all qualifications for the axe. Believe me my maps are very subpar to these tho🤦♀️ Wow!
Very well done Root Design! I am definitely a top fan!